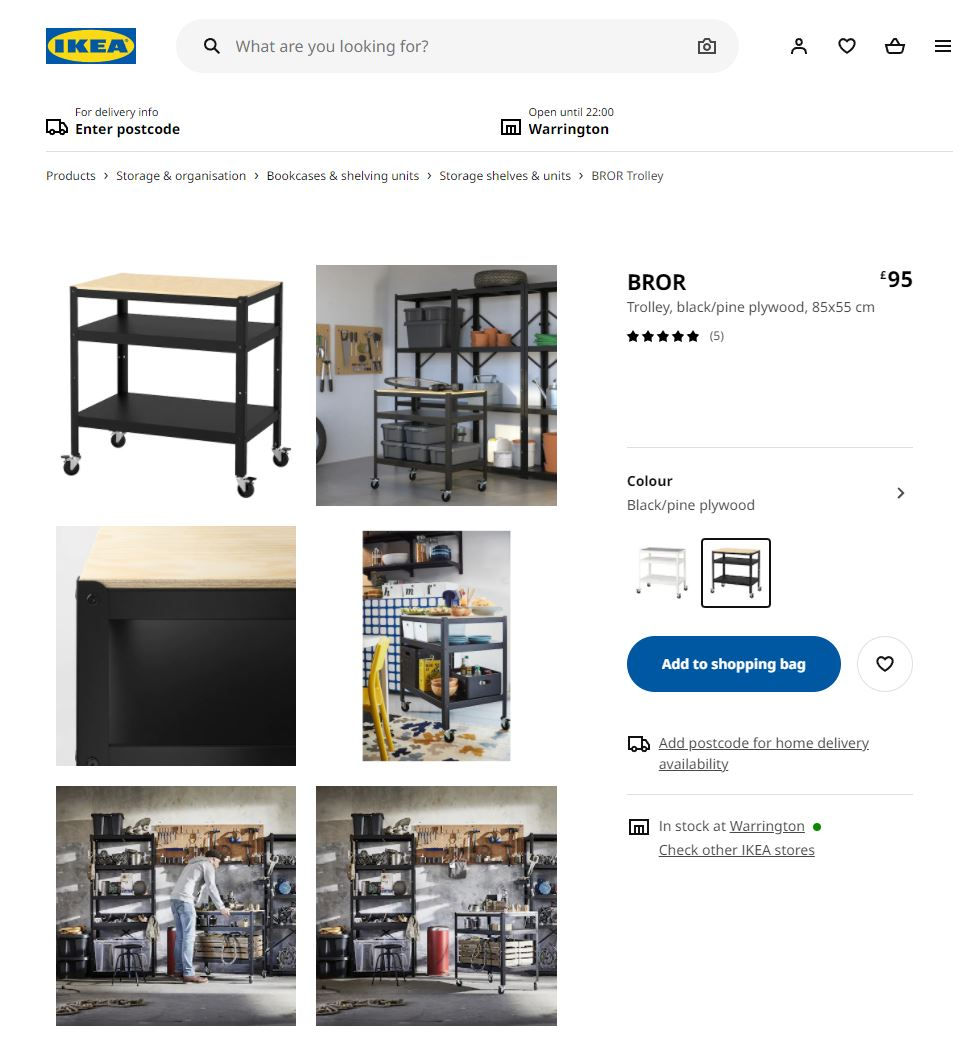
Building the IKEA trolley in VR one bit at a time
- Matt Sugden
- Nov 1, 2021
- 2 min read
Currently with my attachment logic, I can attach all the components in any order, which is a bit ad hoc. I've managed to create a process which builds up the whole assembly, with the exception of all 24 bolts, as there are so many of them overall, I want to make sure the sequence is correct before I replicate the code structure for them all.
It turns out that the hierarchy of the components in UE4 is an essential ingredient of this construction sequence, to enable the logic to pass on, something which I have historically taken for granted when producing 3D animations, as I usually unconsciously control the hierarchy when I create the animation key frames manually. Therefore I have had to start thinking about the correct order for assembling things.
Additionally for the assembly guide to be useful, I need to start thinking about the correct build sequence, and therefore I need to add some logic at the beginning and end of each block to trigger on screen instructions to tell us with the correct sequence, and to force the user to build the trolley in the correct order..
So far I am thinking that the process will be;
Placing L brackets to the inside of the top support shelf
Placing the wooden worktop to the support shelf
Placing a leg to the top support shelf
Placing and then electric screwing in 2 locator bolts for the leg
Repeating steps 3-4 for the 3 remaining legs
Placing L brackets to the inside of the middle shelf
Positioning the middle shelf onto the main structure
Placing and then electric screwing in 8 locator bolts for the middle shelf
Placing L brackets to the inside of the bottom shelf
Positioning the bottom shelf onto the main structure
Locating a caster wheel on the 1st leg
Positioning a washer to the caster wheel thread
Placing a nut on the caster wheel thread
Securing the caster wheel and washer to the leg with a nut, using a wrench
Repeating steps 11-14 on the remaining edge panels
Below is a screen shot of the logic building up for the individual components of the Master model.


Comments